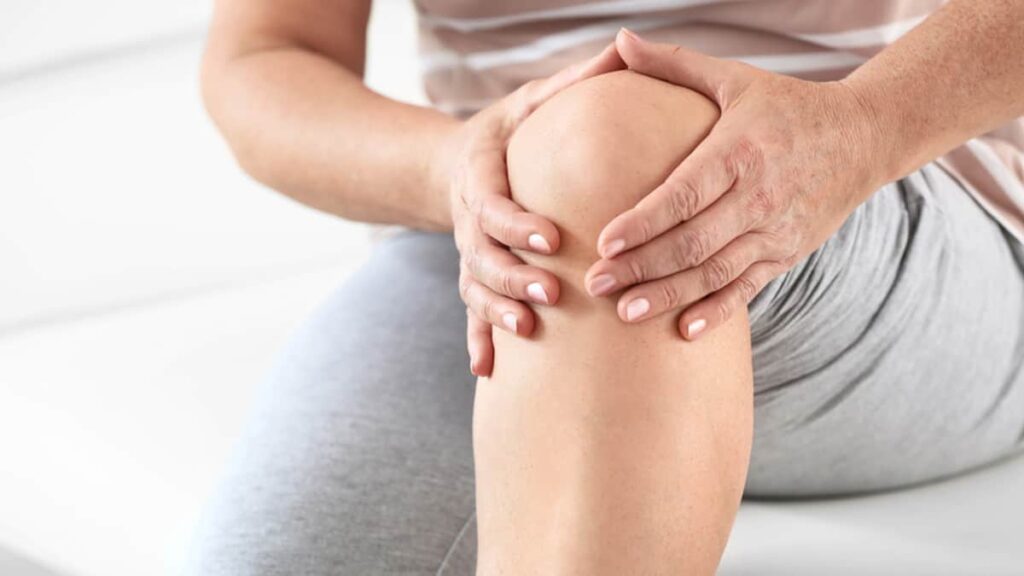
This is part of our series of blogs on the posterior chain. In this blog, we’ll take a detailed look at the best posterior chain exercises for knee pain – including how the posterior chain influences knee pain, why theses exercises help, and how to properly execute them.
Why are posterior chain exercises important for people experiencing knee pain?
There are a number of reasons surrounding the importance of a strong posterior chain especially when it comes to people who suffer from knee pain OR who have had previous knee injuries. As most know, the posterior chain is made up of a number of muscle groups but is most broadly broken down into hamstrings, glutes and back, which together make up the largest muscle groups in the human body – with the largest being the glutes.
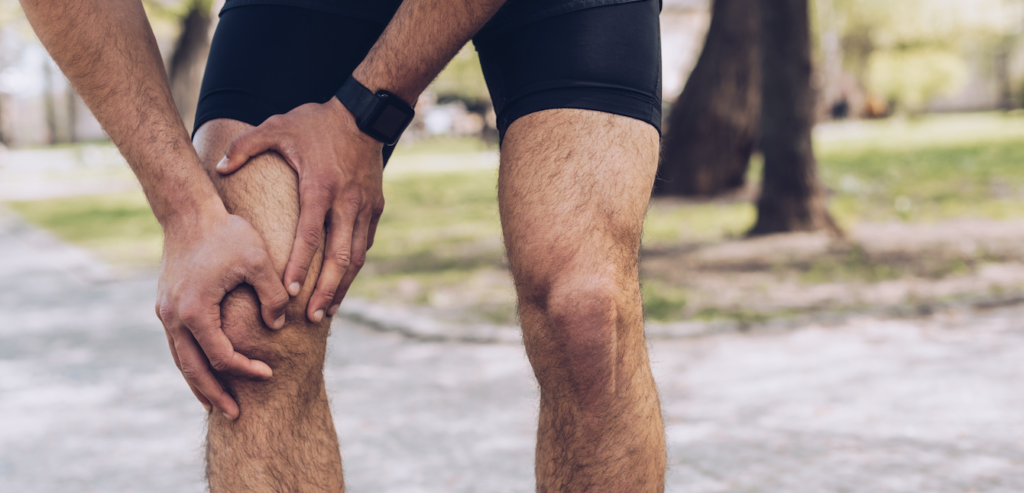
Looking at knee pain in particular, the posterior chain muscles (as well as the anterior chain muscles) provide the knee with the ability to move through its full range of motion and therefore are high on the level of priority when it comes to looking to improve knee pain through exercise and strengthening.
It must be said that not all injuries and conditions can be fixed through just strengthening, there may indeed be a flexibility issues OR even a mechanical (think bone, ligament, tendon) issue and if you feel that any of the aforementioned elements are what you are experiencing we strongly advise that you take professional help and care.
Going back to the posterior chain muscles themselves, the hamstrings as an example extend the hip and flex the knee, the calf muscles attach into various areas around the knee and provide stability and control in motion, the glutes provide a strong and stable hip which has a direct transfer and result on the stability and strength of the knees.
The knee itself (also known as the patella) is free-floating and does not attach to anything structure – it is simply held in place by muscles (mainly quadriceps) via the patella tendon. The surrounding muscles, which of course, a large proportion are posterior chain muscle play a vital role in stabilising and keep the knee in healthy and strong alignment and its for this reason that including posterior chain exercises as a part of your overall workout routine when looking to improve or cure knee pain are essential.
Common injuries such as ACL (Anterior cruciate ligament), torn meniscus, patella tendinitis, Iliotibial band syndrome or general hip and foot pain can all benefit from the use of posterior chain exercises when the time is right.
For exact and personalised guidance we would always recommend working with a qualified professional such as a physiotherapist to have them guide you through a rehabilitation program which is right for you and your body and progresses you at the right pace and allows your body to adapt and become stronger at the right pace also.
Side Lying Band Resisted Clam Shells
How do I do it?
- Lye on a mat on your side with a glute resistance band placed just above your knees
- Rest your head on a cushion or yoga block to ensure your spine remains straight and inline. Create a tiny gap between the side of your body and the floor to ensure your spine stays neutral at all times
- Bend you knees and bring them slightly forwards so that when you look down the line of your body you can see your heels inline with the end of your bottom
- Place one hand on your lower back to ensure that you do NOT tilt back and as a queue try to lean forward ever so slightly
- Once set, driving from the knee, open up your hip ensuring that you do not lean backwards. Think about making the movement from your hip and if necessary place your hand on your hip to assist with mind-muscle connection.
- Once you reach the top of the range of motion, hold for 1s and then slowly return over around 2-4s depending on the program set
- Repeat steps above for the number of repetitions you have set in your program
Why is it good for me?
The side lying band resistance clamshell is a phenomenal exercise for the gluteus medius in particular. The reason I’ve selected this exercise for the knee pain article is because having stable hips really helps keep stable knees and by having strong, stable knees you significantly reduce the risk of further or future injury/pain in the knee. Stable hips = Stable knees = lesser chance of further pain or injury.
How do I make it easier?
You can make this exercise easier by simply removing and not using the resistance band. For beginners this may be necessary or indeed if you want to master the technique beforehand it may be best advised to not use the band first so you can get a real feel for the exercise.
How do I make it harder?
You can make this exercise harder by increasing the resistance on the band OR by using multiple bands. You can also progress this exercise to use the obliques by holding a side plank position whilst performing the clamshell exercise (warning: when done correctly this is really challenging even for the most experienced exercise enthusiasts)
Coaches top tip
Take your thumb and press it into the divet in your glute medius before executing the exercise. Build mind-muscle connection by ensuring you can feel the muscle engage for lifting the knee and driving up. This tip will help you learn how to activate your glutes more and will in turn transfer to other movements you perform and provide you with overall better performance.
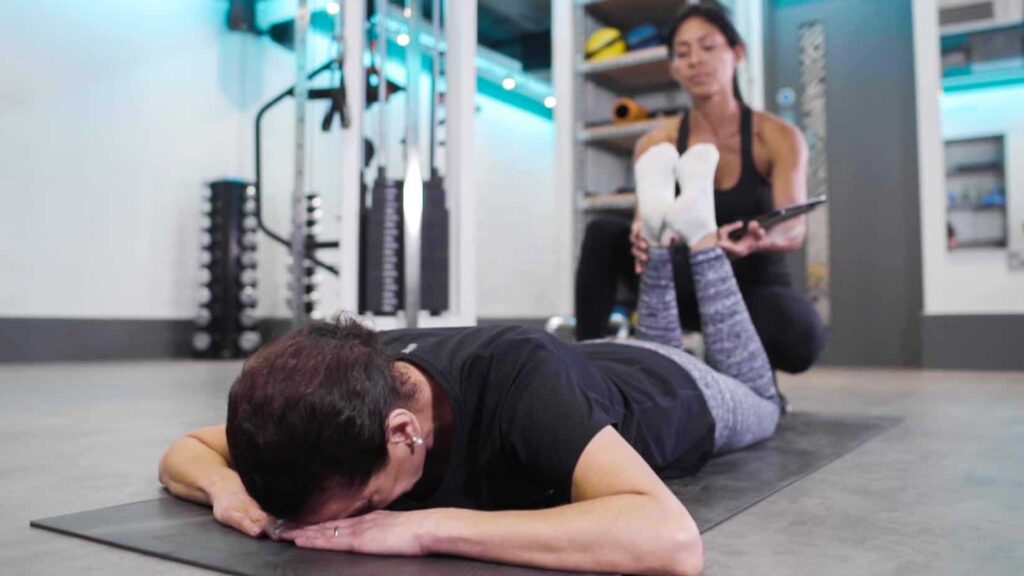
Can I see someone demonstrate it?
Bodyweight Pelvic Bridge
How do I do it?
- Start by lying on a mat on your back on the floor
- Bend your knees and have feet hip width apart (your feet want to be approximately 1 hand distance away from your bottom)
- Tilting your pelvis towards your nose, gradually roll your hips upwards towards the ceiling (peeling the spine off of the mat one vertebrae at a time)
- Once you reach the top position, hold for 1s and then slowly return in the same manner (one vertebrae at a time) until you reach the bottom
- Reset and complete as many reps as you have programmed
Why is it good for me?
The bodyweight pelvic bridge is great exercise for a number of reasons:
- It helps improve your understanding of you hips and correct movement of the hips and lower back
- It activates the major posterior chain muscles (hamstrings, glutes and lower back)
- It improves overall strength and activation of the hamstrings, glutes and lower back
- It improves overall spinal mobility
- It’s great to to be used as either a warm up exercise OR as a part of your main workout
How do I make it easier?
With the floor lying bridge, this is really as easy as it can get, however, if you are suffering or recovering from injury, completing half reps and half range of motion versions of the above are totally fine also. This way you can build slowly towards a full range bodyweight pelvic bridge.
How do I make it harder?
To progress this exercise you can use a step or platform (or anything you can place your feet on which is stable and is above floor level). Place your feet onto the higher surface and complete the exact same steps as above. By taking your feet higher you increase the range of motion therefore making the exercise more challenging. You can also add a small weight by holding a dumbbell or plate on your hips to increase the load.
Coaches top tip
To engage the hamstrings more, lift your toes off the floor and focus on really pushing the heel into the ground.
Can I see someone demonstrate it?
Hip Thrust Using Dumbbell OR Barbell
How do I do it?
- Using a bench OR platform and a dumbbell or barbell (with pad) start with your shoulders on the bench looking straight ahead of you and your bottom on the floor with feet hip width apart and toes ever so slightly pointed outwards
- Rest the dumbbell or barbell on hips located about 2-3 inches below your belly button (ensure its rested comfortably and if it isn’t roll up and exercise mat and place underneath to ensure comfortable)
- Ensuring you have three major points of contact in your feet (heel, big toe and outer toes) drive pressure through the feet and push hips upwards keeping your gaze and head position forward. Posteriorly tilt your pelvis at the same time (tilt pelvis towards your nose) to engage and activate glutes correctly
- Hold for 1s at the top point of the exercise when the hips are just below level and then return slowly an controlled over approximately 2-4s depending on your program and the goals
- Repeat the above steps for the number of repetitions set in your program
Why is it good for me?
The hip thrust is an excellent exercise for those suffering from knee pain who need to strengthen the posterior chain. FIrst of all, its low impact and the knee received no physical impact during the exercise (think in comparison to running). Secondly its a closed chain exercise (feet never leave the floor meaning you are always in a fixed and stable position. Thirdly, it can be done with minimal equipment and is excellent at teaching pelvic tilt and glute engagement.
How do I make it easier?
To make this exercise easier you can either use just bodyweight or a much lighter weight. Changing the tempo and the overall time under tension for each set will also make the exercise easier.
How do I make it harder?
To make this exercise harder you could increase the weight you are lifting, you could increase the tempo in each repetition i.e. hold for longer at top or return back to start more slowly. You could also progress this to a single leg version and you could also progress to using a glute band around your knees meaning you have to physically push outwards which would in turn further engage the glutes in particular the gluteus medius.
Coaches top tip
Take your shoes off when practicing the technique on this exercise so you can really feel the importance of the three points of contact on the foot. Try to observe what happens to your glutes when you apply pressure to the different elements of the foot so you can apply this to your heavier and more demanding sets to ensure you get the most from the exercise.
Can I see someone demonstrate it?
Safety First
Remember, the movements and techniques you see demonstrated here are advanced exercises, and our team has practised them countless thousands of times. It’s always a good idea to have professional guidance when you’re exercising – and this is especially true when you’re using free weights.
If you’d like to talk to us about training with us here in London at our Soho, Fitzrovia, or Mayfair studios, we’d love to help. Equally, if you’re somewhere else in the world – we can be by your side virtually using our innovative online training app and video call guidance.